THREADING ON THE MILL
Introduction
This
document presents some of the more common techniques for threading on the
manual milling machine.
Using a tap
handle is the most common method of tapping on the mill. The workpiece is clamped in the vise or to
the table, a spring
loaded center (for smaller taps) or a dead
center (for larger taps) is installed in the spindle, and the tap is held
and rotated using a tap handle, as we do with the assigned parts in lab.
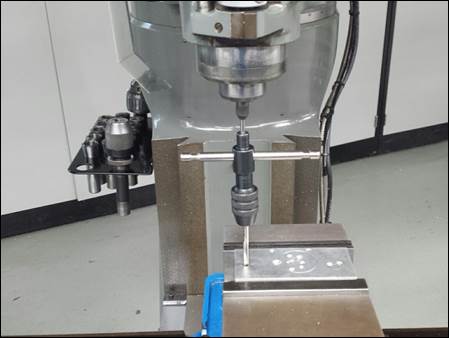
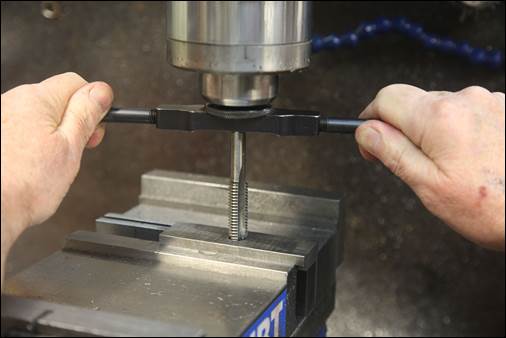
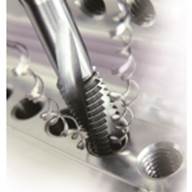
Figure 1a:
Example of using tap wrenches and spring loaded tap guides or collets to
manually tap holes on the mill.
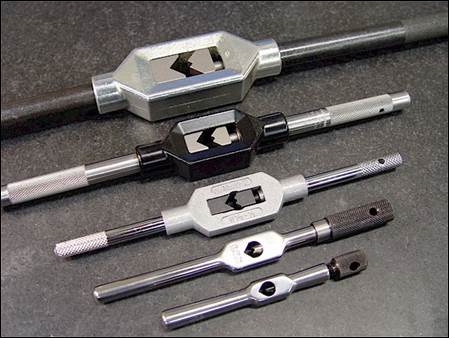
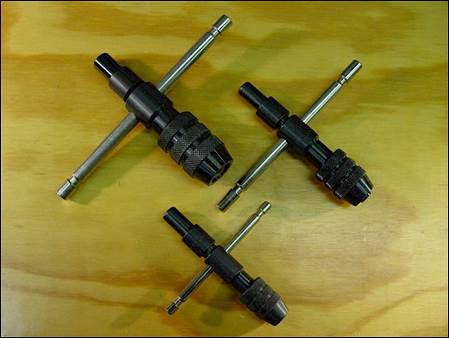
Figure 1b:
Examples of various tap handles.
Rigid
tapping is the second most common method of tapping on the mill. With this technique the tap is clamped in the
spindle and threaded into the workpiece under spindle power. Smaller taps up to 3/8” can be clamped in a
keyed Jacobs-style chuck (NEVER a
keyless chuck!). Larger taps should
be clamped using a split sleeve tap driver or a collet chuck, as shown in
figure 2b.
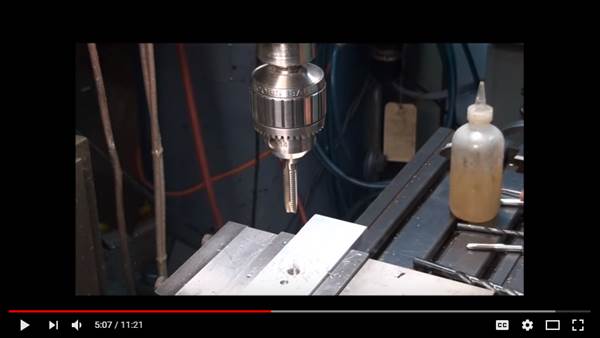
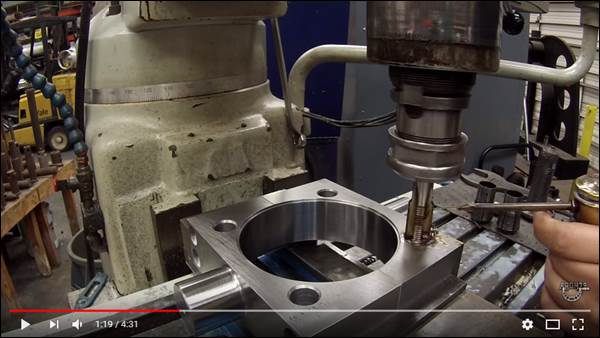
Figure 2a:
Excellent videos showing rigid tapping on the mill. Click images for video.

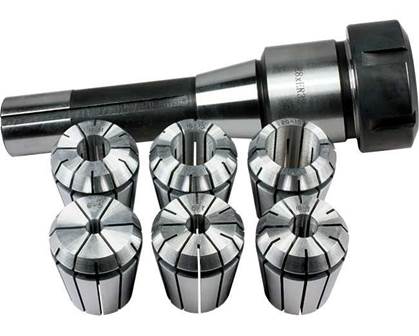
Figure 2b:
Example of split sleeve tap driver for use in standard R8 mill collets (left,
click image for cool video showing how they’re made), and R8 ER-32 collet chuck
for holding larger taps (right).
The process for rigid tapping using a mill in
the design lab is as follows:
1.
Clamp the
part securely, ensuring adequate room beneath if tapping thru holes.
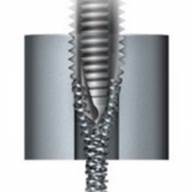
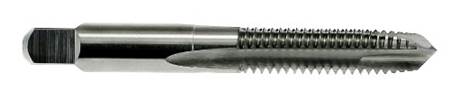
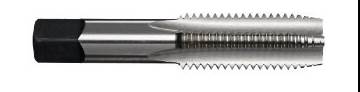
2.
Select an
appropriate tap. Spiral point (i.e. “gun”) taps (left) work well for thru
holes. Spiral flute taps (right) work well for blind holes.
3.
Load the tap
into a KEYED Jacobs-style chuck, as shown in figure 2a above, or for larger
taps into a split sleeve tap driver or collet chuck as shown in figure 2b.
4.
Make sure
the silver spring loaded spindle lock (aka the
micrometer stop) is at its lowest position so it cannot engage the quill depth
stop.

5.
Place the
mill in low range, the slower the speed the better as you are first learning
how to rigid tap.
6.
Apply
cutting oil to the tap.
7.
Turn on the
spindle in the FWD direction and firmly bring the tap into engagement with the
part. Keep your hand on the power
switch!
8.
After 4 or 5
threads, turn the spindle off and to the REV direction to break the chip or
withdraw the tap from the hole. You can
switch directions very quickly if necessary to prevent over-threading.
9.
If peck
tapping to clear the chips (which shouldn’t be necessary with the proper tap
unless it’s a large size or a strong material), blow the tap off, reapply oil,
and return to step (7).
10. Be cautious to not run the tap past the location
where the threads end (left), unless using a reduced shank tap (right).
Always
use cutting oil when threading on the mill.
WD40 works well for aluminum. Oatey dark
threading oil works well for steel.
Chlorinated Moly-D works best for materials which are tougher to
machine, like stainless and alloy steels.